Flowers, flowers, flowers! Ahhhh! it seems like this year I'm just obsessed! I've liked anything floral since I can remember, but this year, it's hit to the top!
So the months of April and beginning of May were very busy ones. I started working on some centerpieces for an event at our church. I was happy with how they came out, and most of all they were very inexpensive.
All of the materials were bought from different dollar stores including: the Dollar Tree and Just a Dollar. (Not going to lie, I go in there probably 2-3 times a week. Just because. You can find so many cute things in there for "Just a Dollar.")
So I've had to do this years before, making centerpieces and such for this event. This year I got to thinking about it and right after I had my mind set on what I was going to do. It came to me that it's really interesting how every year my ideas are pretty different. And that I mean I could just do the same thing year after year and no one would say a thing. But no. My mind is set, and I must do something different. I'm a bit of a perfectionist. People have told me. I hate to admit it, but they are right.
So this year and the past I quickly went to
Pinterest and started searching for ideas. I even made a board on just
Centerpieces for if I needed to refer back for some more inspiration. My pins are a bit all over the place usually, only I know why I add them to their new little home.
Well after quite a bit of trips to the dollar store, I decided on either a normal clear vase or a cool
striped glass. The colors for this anniversary were hot pink and black. I knew when I saw the
striped glass that was going to be my pick, but the indecisive person in me still took pictures of both items and went home to think on it.
I had the idea of adding some sort of sparkle to the top rim of the glass to conceal the stems of the flowers. I headed to the dollar section of Michael's and bought some glitter dust. I actually went a little crazy and bought more than I needed... I ended up using only one tube after doing 13 centerpieces! So I've ended up with a bunch of glitter bottles, and I'm storming ideas of what to use them in. I've already done iPhone cases with them which come out great! I did one for my mom and she says she's gotten soo many compliments for it! They are so simple too!
Okay, back to the centerpieces, I can get a little excited sometimes and just start rambling about other things;) So I decided to fill the glasses with shredded foil paper. What I should have done thought, looking back is buy just one sample and test it out. Because I kid you not, I literary just went and bought everything just with the picture I had in my head. I like the over all look of them, but I do wish I had planned out the inside a little more, maybe done the whole inside with glitter? Then I probably would have used up all the glitter I bought. haha. That's a good idea for next year! But I still like how they turned out.
I also sprayed the flowers with my new best friend, glitter spray in the color silver. Guys, I've fallen in love with that stuff! A few months back I went with my sister to Walmart to buy some spray paints for her welding class she's taking in high school and she bought the red glitter. Well, while I was working on the other centerpieces (Ta-ta-taaan!! you'll love them, everyone else sure did!) Well, like I'll mention later in another post the flowers to the other centerpiece just needed something. Something. My mom and sister mentioned maybe a little glitter somewhere, now I swear to you - I've never used this much glitter in my life! But it seems to be a reoccurring theme these past months. So as I added the spray to the second centerpiece, I realized theses were wanting some as well.
Let's get on with this quick tutorial:
Supplies:
Silk flowers
vase or stripped glass
Metallic Foil Shreds (
buy here)
glitter
Modge Podge
Glitter Blast Silver Spray (
buy here)
Instructions:
It's very simple and self explanatory. I first coated the top of the glass with Modge Podge, (I started taping off where I wanted the strip of glitter to end, but after the second glass I realized it was much easier and less of a hazzle for me to just go ahead and do without the tape). I then sprinkled the glue with glitter until it was all coated, and waited for it to dry. Once dry, I added another layer of Modge Podge to the strip of glitter to seal it and make sure none of the glitter would fall off. Lastly, I filled the glass with the shredded foil and added the flowers, making sure the stems didn't show through ( personal preference).
It's that easy! And let me tell you, after the service was over and we were putting them away, I decided to go ahead and let people take them with them as little party favors. They were gone in seconds! Even several people asked if we had more, that made me really happy.
Now, don't you just love the newspaper? How about a game of Sudoku while the glitter dries?
Love ya lots,
♥
Angie


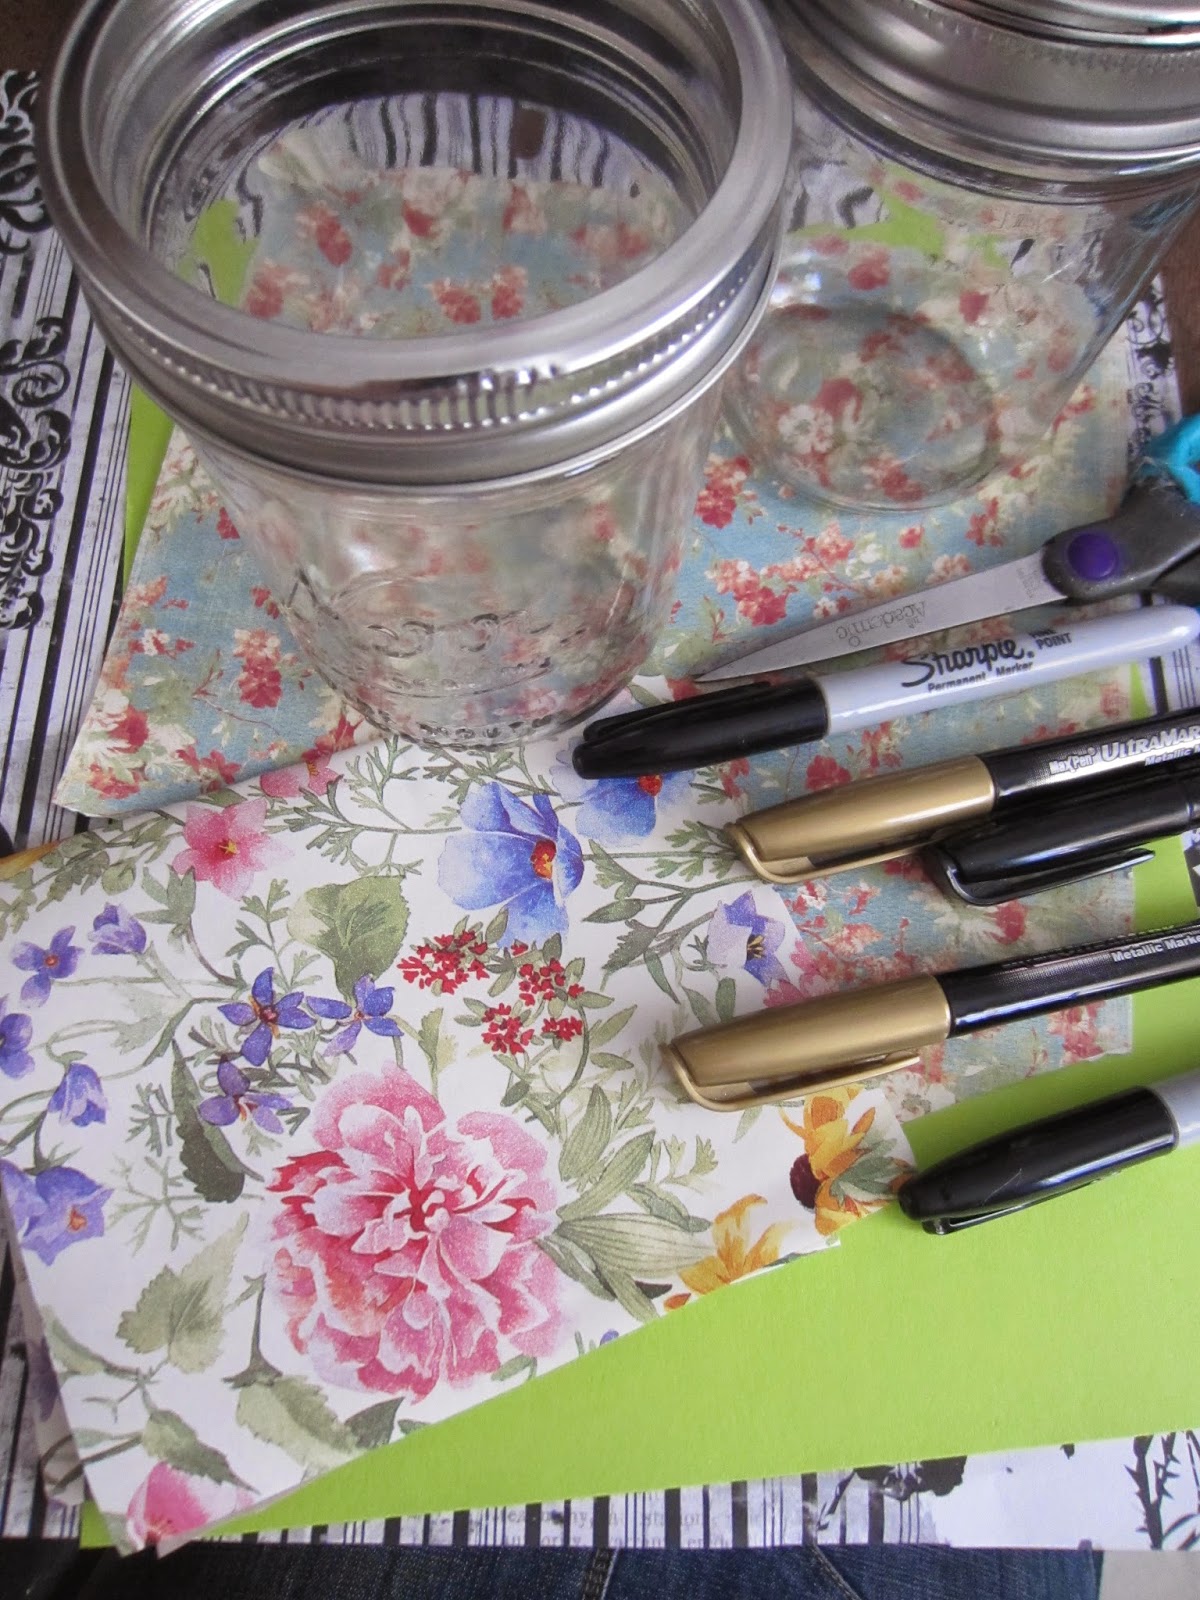


 I then cut that piece and proceeded to measure the length of paper by sticking it inside the jar to get a rough estimate. My paper measures roughly around 10 inches by 4 inches.

 I then, flipped one of the papers to have a clean white background to write what my specific purpose for this jar was. You can choose to glue down the paper, but I decided to just tape it. Easy and you can't see it through the glass.


