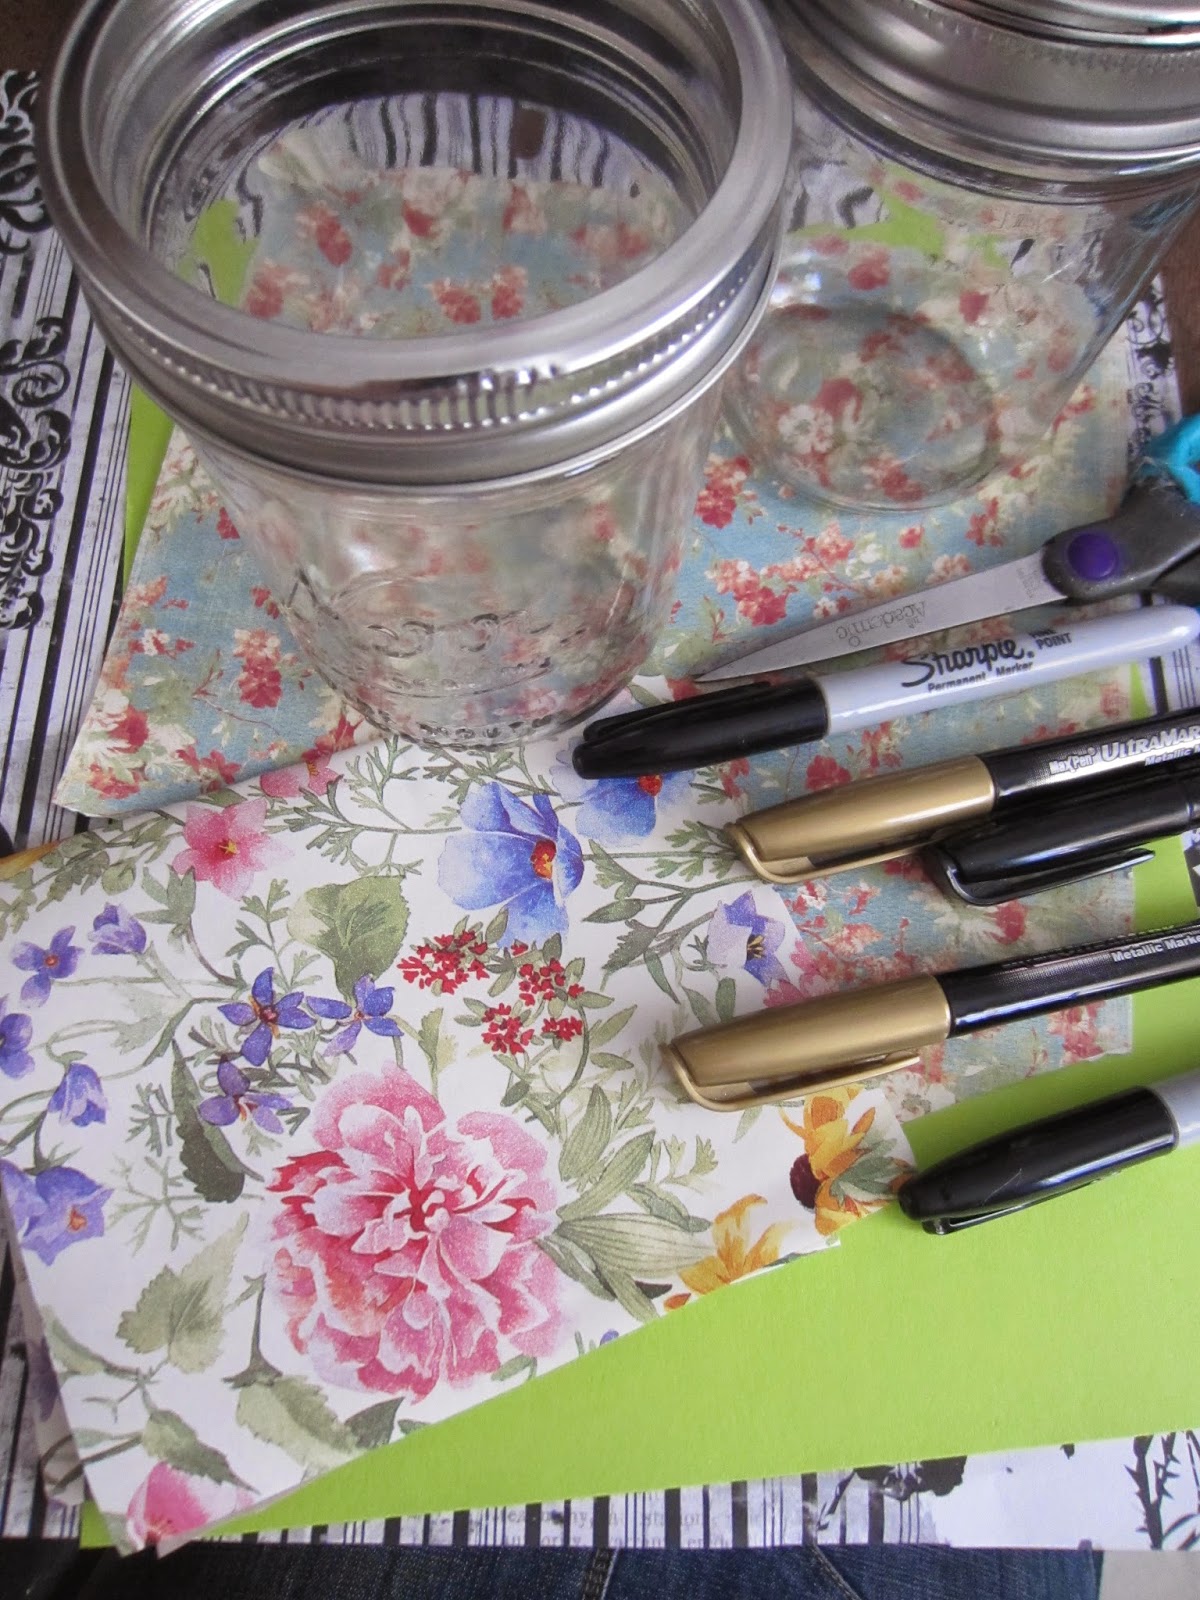
I've been collecting mason jars for a while now, and love finding new ways to used them. Depending on how much you trust yourself of not opening the jar, this project will work perfectly for you.

Items you will need:
-Masor Jar (size of your choice)
-Cardstock and different patterned paper
-Scissors
-Markers/sharpies
-Things to decorate with
Instructions:
First, start off with the lids. I decided to take the lid off and use cardstock instead. You can use the original lid, it all depends on personal preference, but it is much easier to make the coin slot with cardstock as well as the decorating. I started by using the lid as a stencil and cut a lid from it. Then, using your scissors or an xacto knife cut the coin slot. I didn't really care if it was exactly in the middle so I just winged it.

I then, put it off to the side and started decorating the piece that's going to go inside the jar. You are welcome to paint your jar any color you prefer, but I did it this way in case I wanted to use the jar in the future for a different purpose. I used different patterned paper and measured the width of the paper with the length of the jar.
 I then cut that piece and proceeded to measure the length of paper by sticking it inside the jar to get a rough estimate. My paper measures roughly around 10 inches by 4 inches.
With your paper cut out the desired size, You can now go crazy and decorate it as you wish! I decided to go for a floral pattern (of course). I layered different patterns and papers until I got what I wanted.

 I then, flipped one of the papers to have a clean white background to write what my specific purpose for this jar was. You can choose to glue down the paper, but I decided to just tape it. Easy and you can't see it through the glass.
 You then, just roll the entire paper into the jar and if you like you can tape it together, although this is not necessary at all.
Finally put your lid on the jar and screw the top right on. Presto!
I made a couple of jars in the process and had fun playing with different patterns and ways of decorating them. For both jar lids I decided to use different cardstock, one silver and the other a lime green. After I was done I noticed the green lid was looking dull, so I added this adhesive trim I got at my local craft store, and it was the finishing touch! I hope you enjoy making some for yourself and put them to use. This would be a super fun project to do with kids during the summer as well!


No comments:
Post a Comment